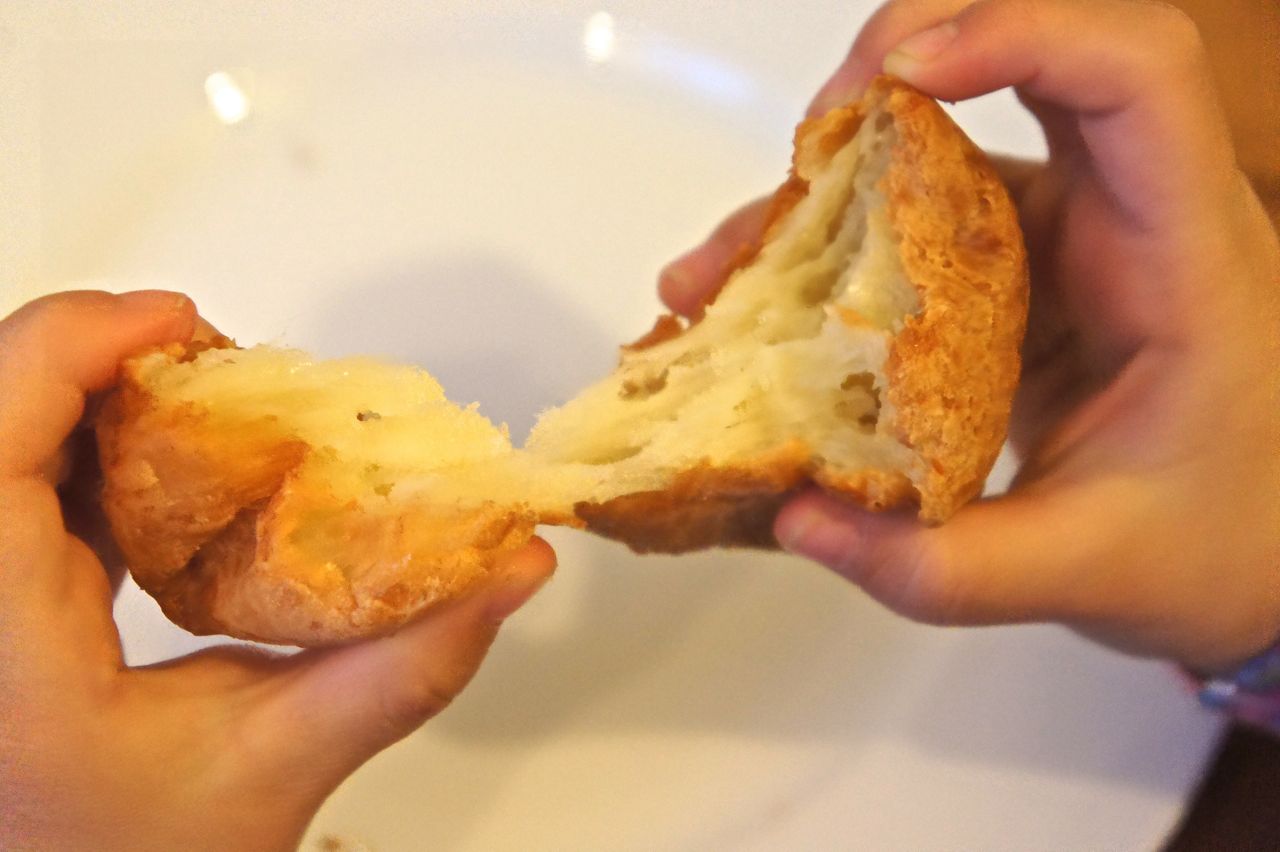
 I have a new addiction. I was first introduced to Brazilian cheese bread several months ago when I ran across the Bolitas stall in the Oxford covered market. These were delicious. Then a Brazilian friend of mine brought some homemade ones to a little party at our house. These were even better. But when I made my own and had the results straight out of the oven, they were sublime. My whole family attacked them, even the picky little girls. Still steaming, crisp on the outside, gooey on the inside, most of them stuffed with little surprises, they were the most delicious thing I’ve had in I don’t know how long. The only problem was that we ate way too many of them.
These little cheese puffs are surprisingly easy to make, especially with a stand mixer. It would definitely be harder without, as the recipe calls for a lot of mixing of hot, stiff dough. I saw a lot of recipes online but the one from theKitchn looked most like what I was after: gooey, puffy, no mini muffin tins involved. However, I wanted mine to be stuffed, and I wanted them to be cheddary, since my family and I love cheddar. So I tweaked the recipe slightly. This is what I ended up with.

Stuffed Brazilian cheese bread (pao de queijo, AKA bolitas)
Makes about 24
- 1 cup lactose-free milk
- 1/2 cup sunflower oil
- 1 teaspoon salt
- 2 cups tapioca flour
- 2 eggs
- 3/4 cup Parmesan cheese, freshly shredded and packed
- 3/4 cup mature or medium cheddar cheese, freshly shredded and packed
Optional suggested fillings (per cheese ball; multiply by the number of each flavour you plan to make)
- 1 cube of feta cheese (I used this) or other type of cheese
- 1 teaspoon chopped ham (I used this)
- 1 olive (I used this)
- 1 teaspoon shredded pork or chicken, lightly flavoured to taste (I haven’t tried this but I made pork carnitas recently and thought it would have been great in bolitas)
- 1 teaspoon chopped spinach or mix of spinach and feta, well drained/squeezed (I haven’t tried this yet but I will next time)
- 1-2 slices or 1/2 teaspoon chopped jarred jalapeno pepper (I haven’t tried this but I bet it would be great if I didn’t have children who would scream bloody murder if they got one by accident)
- Preheat oven to 450 F/230 C/210 fan. Line two baking sheets with non-stick baking paper.
 Whisk together milk, oil and salt in a pot and bring to the boil. Remove from heat as soon as it boils.
- Stir in tapioca flour until no longer powdery. The dough will at this point be very dry and stiff, as in first picture.
 Transfer dough to the bowl of a standing mixer, using paddle attachment. Beat on medium for a few minutes until it’s smoother and cool enough to touch, but still hot. It will now look like the second picture to the right.
- Whisk the eggs in a bowl and add half the whisked result. Beat on medium until the first half has been fully incorporated, then add the second half.

- Add the cheese, a handful at a time, continuing to beat on medium and scraping down sides as needed, until fully incorporated. You will get a soft, sticky, stretchy dough like in the picture at the right.
- With a bowl or mug of water at the ready, use a round tablespoon measure or small ice cream scoop to scoop out rounded scoops of dough. You will have to dip the spoon into water between each scoop so the dough doesn’t stick to the spoon. You may need a second small spoon, also dipped in water, to help in case of sticking.

- If you’re going to stuff any or all your cheese puffs, wet your fingers and tuck whatever you’re going to stuff the puff with into the side of each scoop of dough. Use your fingers to reclose each ball of dough.
 Put the balls in the oven and immediately turn down heat to 350 F/175 C/155 fan. Bake for 20-30 minutes until puffy and golden.
- Eat. Oh. My. God. Eat. (Once cool, they can be kept in the fridge and warmed up in oven or toaster oven to eat. That makes them almost as good as freshly out of the oven, though nothing is quite as sublime.)